Doing your own gel manicure can seem intimidating but it is SUPER easy and rewarding because of all the time and money you save! This guide includes instructions, tips and FAQs. Leave a comment if you still have questions!
Tools You Will Need
- 99% Isopropyl Alcohol
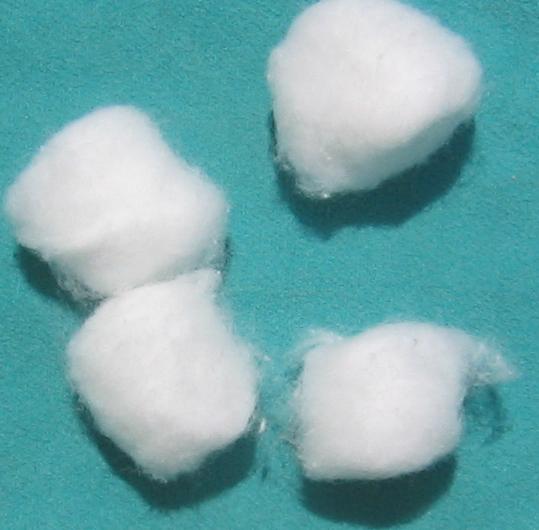
- Lint Free Wipes or Cotton Pads
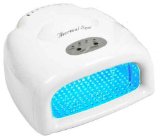
- UV Lamp or LED Lamp (Don’t have one yet? Checkout this buyers guide for nail lamps)
- Gel/Shellac Base Coat
- Gel/Shellac Color Coat
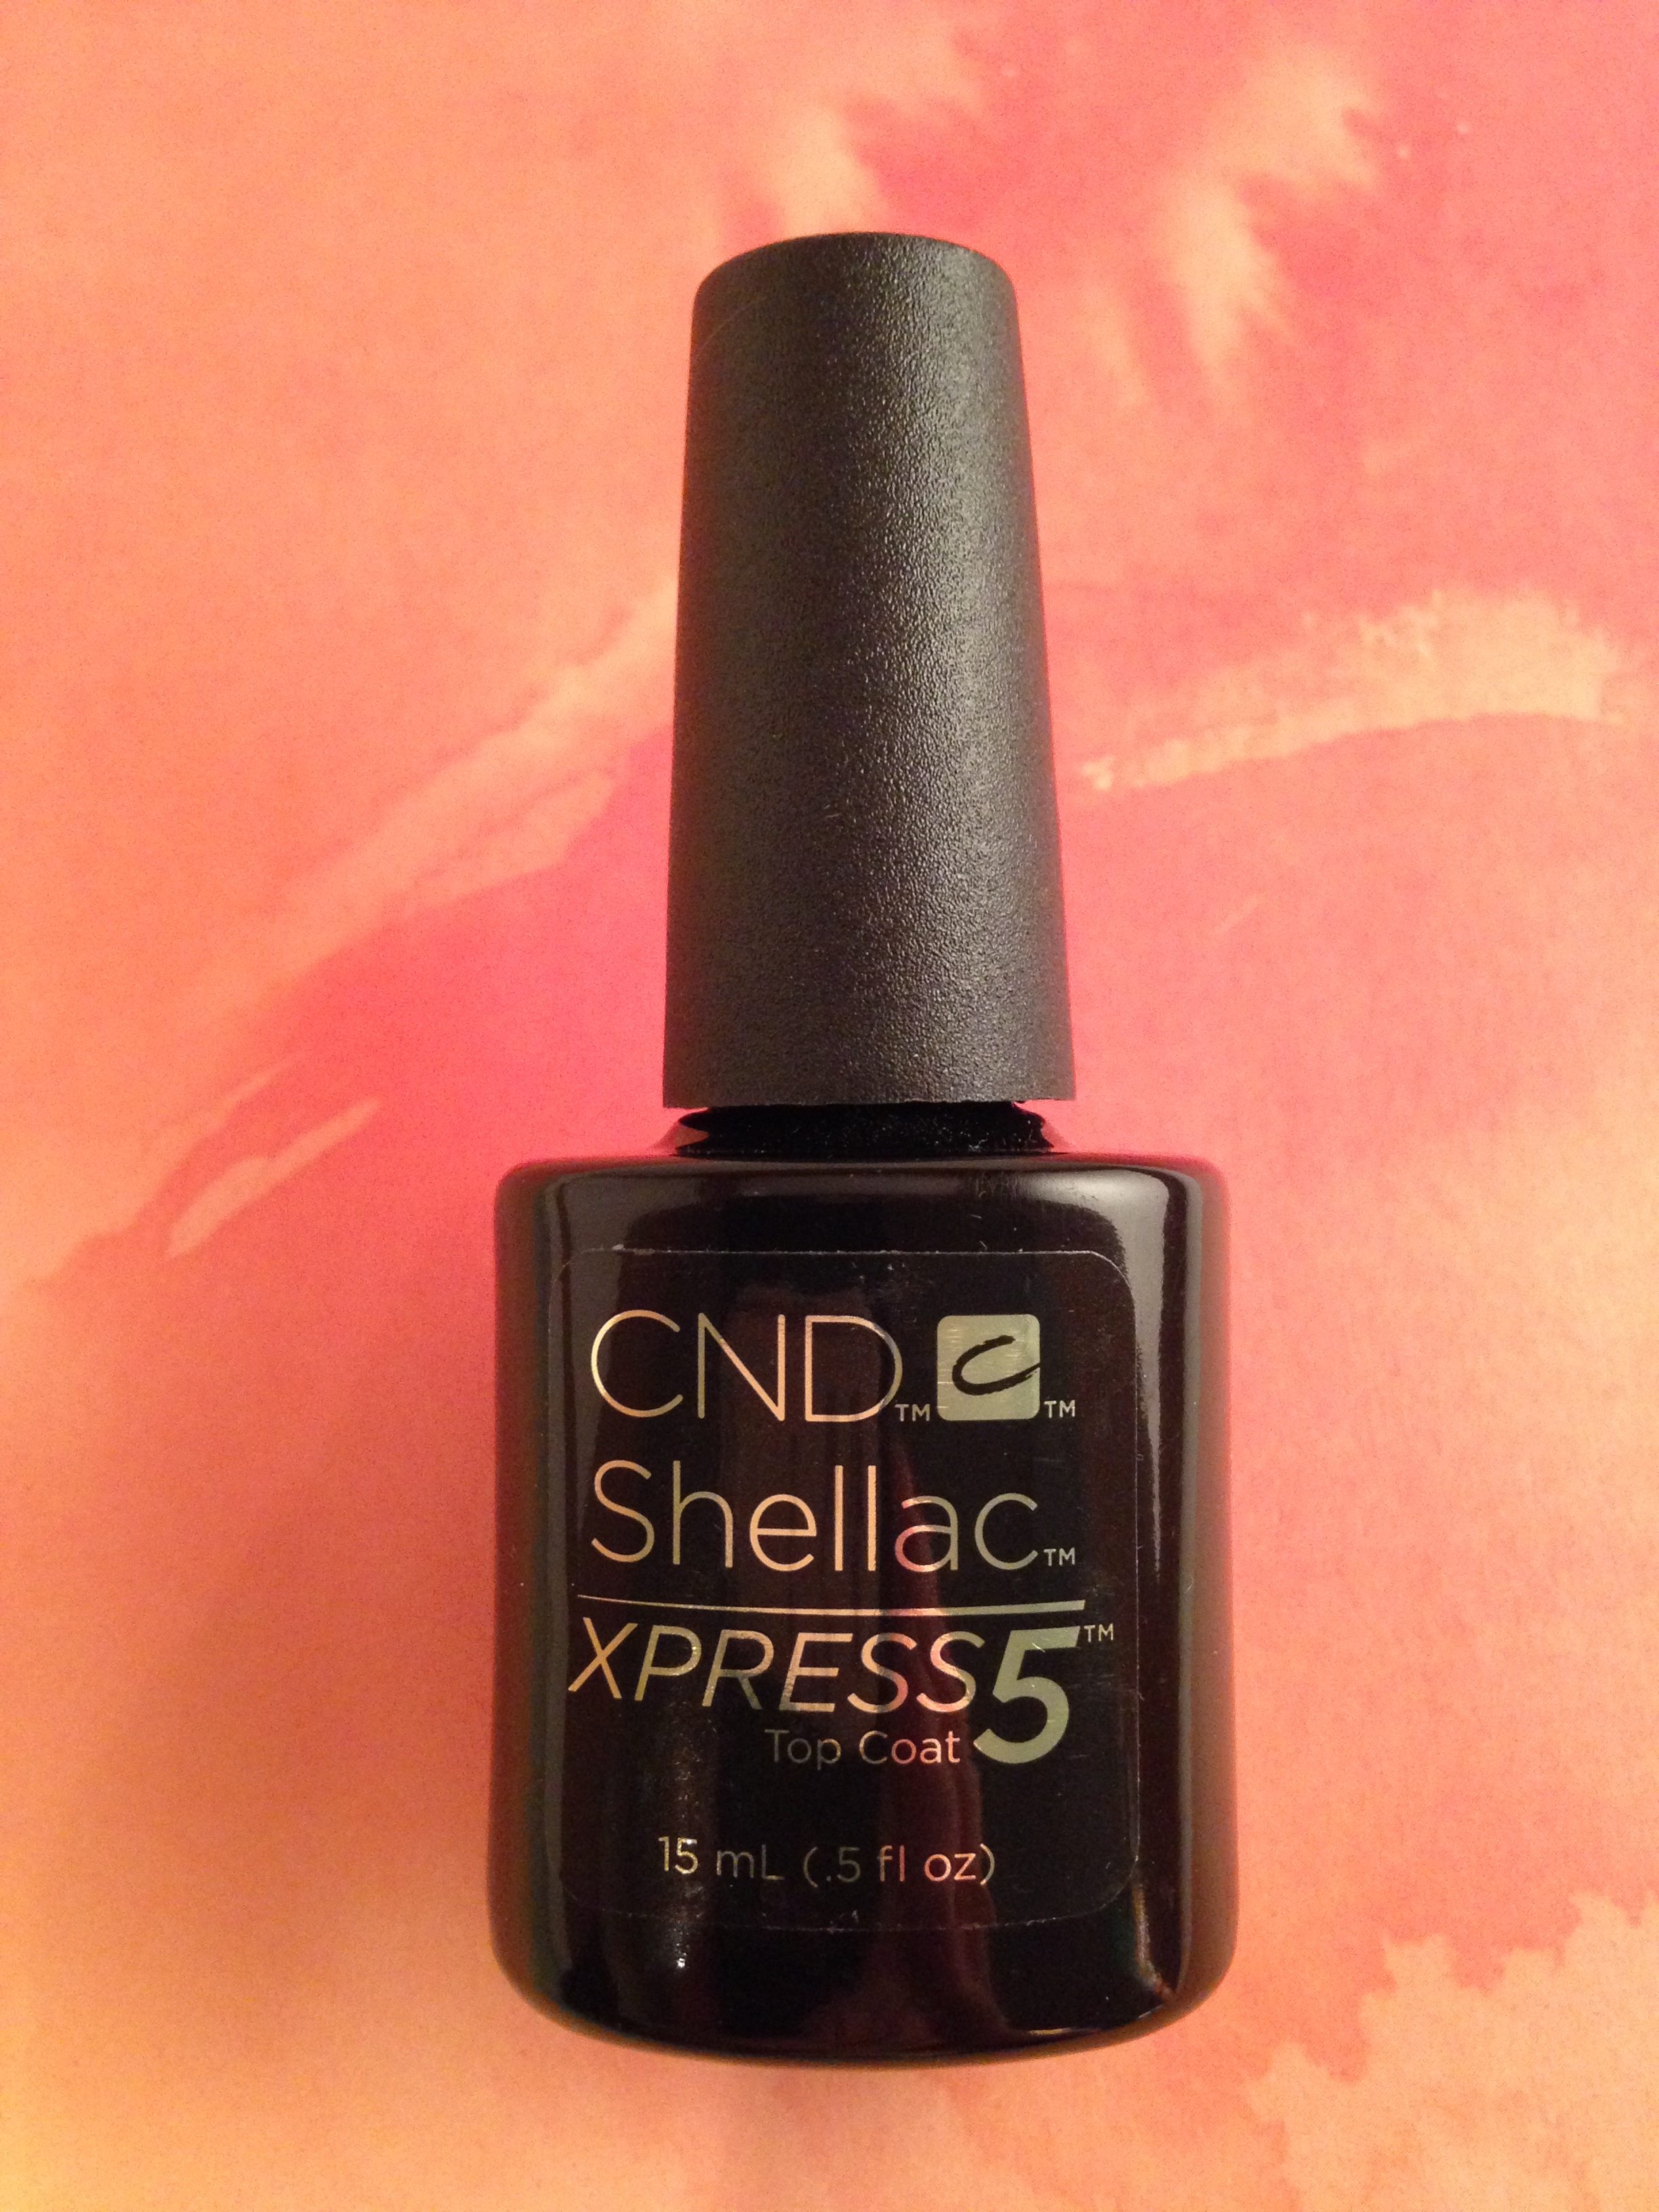
- Gel/Shellac Top Coat
DIY Gel Manicure Steps
1. Start with Clean & Trimmed nails:
File your nails to the shape you want then use a nylon brush to dust off your nails. Make sure you have no lingering nail polish anywhere on your nails. If you leave any polish on then you will end up with a bumpy manicure, which is never good! Use a nail cleanser to clean the nail so the Gel will stick better. CND Scrubfresh is one of my favorites because it de-contaminates the nail and improves adhesion in one simple step.
2. Push back the cuticles & Buff Your Nails
Apply a cuticle remover on your cuticles and then push back each cuticle with a metal or wood cuticle pusher. If you have tough cuticles then you can soak them in warm water to soften them for one to two minutes before you push back your cuticles. Next, you buff your nails to increase gel adhesion to your nail!
3. Apply the Gel Base Coat
Typically, most gel brands sell a gel base coat, but this can vary depending on the brand. Shake the bottle to blend, then apply the base polish on your nails without getting it all over your cuticles or fingers. Then immediately put your hands under the UV/LED lamp 
4. Apply the Gel Color Coat
Apply one coat evenly and cure for the prescribed time (typically 90 seconds-2 minutes). I really like to layer on and cure a second coat to make the color bolder, especially if I’m working with a sheer polish.
5. Apply the Gel Top Coat
This coat is a critical step and is key in creating a long lasting manicure. Apply a thin and even layer, then cure for the prescribed time limit.
7. Wipe with Alcohol
No I’m not talking about getting boozy and pouring vodka on your hands. I’m talking about 99% Isopropyl Alcohol. Your nails will feel sticky and tacky at this point so you will need to pour a little bit of the alcohol onto lint free cloths
FAQs
How Do I Remove Gel Nail Polish?
This can be tricky if you don’t use proper methods and a little bit of patience! You’re in luck that you came to the right place because I tested 3 different methods to see which way works best to remove stubborn gel – check out my Ultimate Cheat Sheet On Removing Gel/Shellac Nail Polish.
Will Gel Nail Polish Ruin My Nails?
This is a common question women ask because the removal process is so different than normal nail polish. Typically women who have very sensitive/weak nails or women who are addicted to gel manicures and get them non-stop back to back are the people who have problems with nail damage. In general, the majority of women can do shellac nails at home safely if they give their nails a break for at least one week in between gel manicures. Improper removal is another main cause for the damage. If you get impatient and scrape it off, this can leave white spots and damage your nails. Ultimately, if you give your nails a chance to breathe and remove gel properly and you’ll be good to keep gellin’.
Is Gel Nail Polish Safe?
Many people are concerned about the affects of using a UV or LED Lamp to cure the gel. 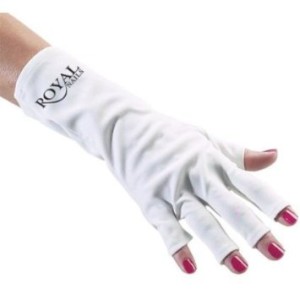 My opinion is that gel manicures are safe in moderation and are no where near as risky as laying out on the beach in the sun. There are conflicting reviews on the safety of UV Nail Lamps but most dermatologists seem to think it is perfectly safe (checkout this Dr. Oz article for more safety information). There are also safety precautions you can take at home by using Anti-UV Gloves
that are only $6, which is a pretty low price to protect your skin!
What is Shellac / Gel?
Many of you are wondering what is shellac? Is it different than Gel? Shellac is the brand name that the company CND chose for their gel product. So shellac and gel are essentially the same thing. Still have questions on Gel? Check out this guide to learn more.
I do accept as true with all of the ideas you have offered to your post.
They’re very convincing and will certainly work. Nonetheless, the
posts are too brief for newbies. May you please prolong them a bit from next time?
Thank you for the post.
Hello,
Thanks for your comments. This site has transitioned from daughter to mother and I plan to expand and update previous posts, so check back again soon!